2024 Salesforce Guide: How to Share a Report in Salesforce
Quick introduction:
Salesforce is an online platform that enhances customer relations via technology and service provision. It is a customer relationship management software, or CRM in short, that enables you to store, track, and manage customer-related information.
With this information, one can generate a customized report to track performance and understand current trends to better make informed decisions. The knowledge of generating and sharing a report in Salesforce is critical to seamless operations within an organization’s sales department.
In this feature, we will look at how to generate a salesforce report in minutes.
Step-by-Step How to Share Reports in Salesforce
Step 1: Navigate to the Reports Tab
- First, you’ll need to log in to your Salesforce account.
- Locate the app launcher grid icon. It is on the top-left corner of your computer screen, just below the salesforce icon.
- Type “Reports” on the search box presented from the drop-down menu, and click “Reports” to open the reports page.
Step 2: Create a New Folder
To create a new folder:
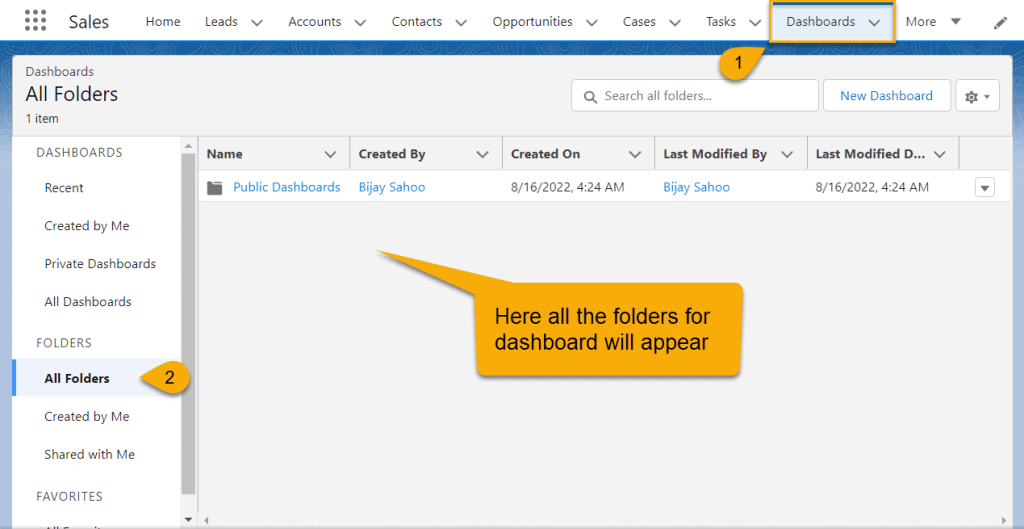
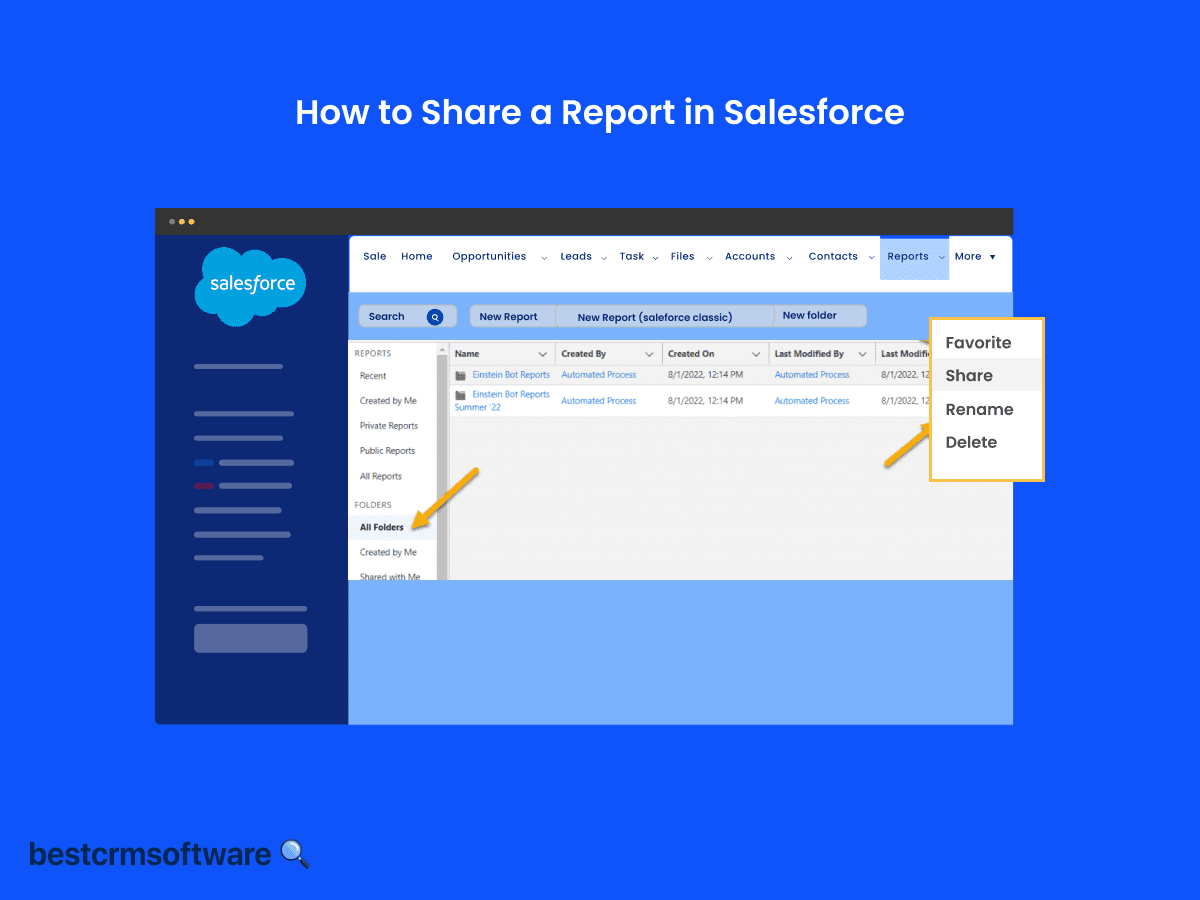
- While still on the reports tab, navigate on your left-hand side and click on the ‘All Folders’ button.
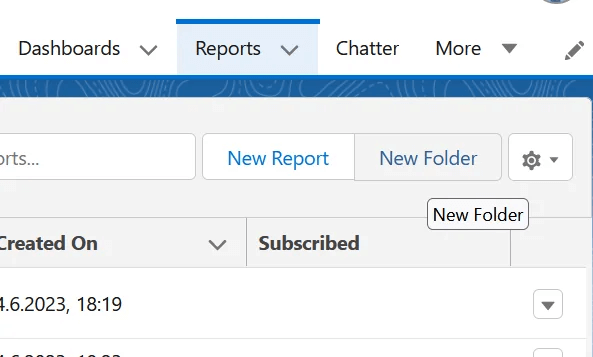
- Locate the ‘New Folder’ button and select it to create a folder.

- Fill in the requested details, i.e., Folder Label, Folder Unique Name, and Folder Access.
- Click ‘Save’.
Step 3: Edit and save your Report
- Open the report, click on ‘Save As’ if still editing, or ‘Save’ if it’s new.
- A ‘Save Report’ dialog box appears to help you choose which folder to save the report to. Choose the new folder you’ve already created. Then, proceed to save your report in this newly created folder.
Step 4: Share your Folder
- Go to the Dashboard tab.

- Locate the folder you just created the report in.
- Select the ‘Share’ option from the dropdown menu presented.

- In the sharing settings, specify access to the folder and configure settings based on who you wish to have access to view and edit the report.
Additional Step: Confirm and Notify Team
Save your changes and notify your team that you’ve granted them access to a certain report for their review.
Tips and Tricks
Follow these tips for a better sharing process:
- Review Permissions: Ensure that the report is shared with appropriate personnel for data security purposes.
- Schedule Reports: Scheduling makes work easier when you need to email or update reports regularly.
- Share Dashboards: Visual representation is always better when it comes to teamwork. You can similarly share a dashboard with your team.
Wrapping Up
While Salesforce is always being updated, these guidelines may vary depending on the version you are using and the customization options you used to set it up. However, the basics are just the same. Follow the above guide to share a report in Salesforce effortlessly.


