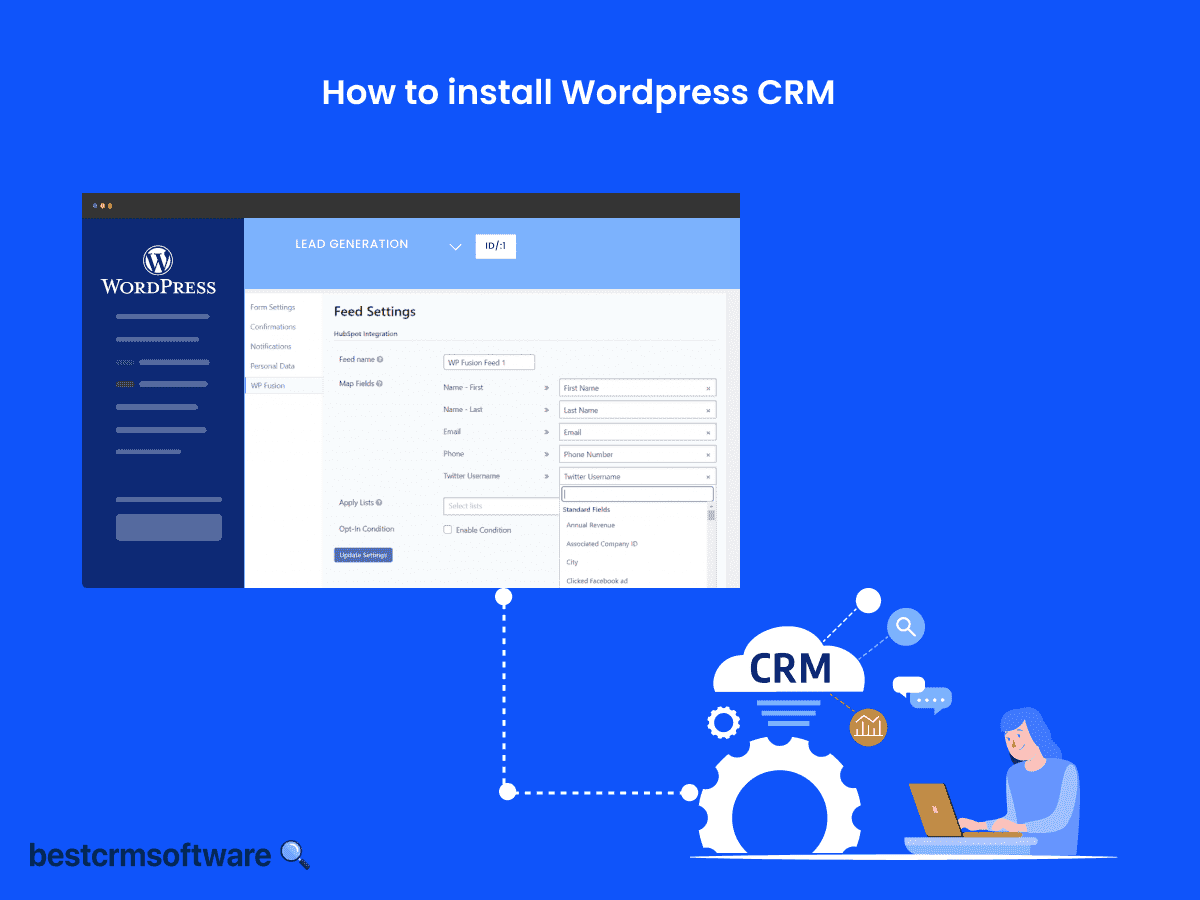
A Comprehensive Guide on How to Install WordPress CRM in Simple Steps
Quick introduction:
WordPress has a vast collection of CRM integrations and plugins. With the help of these tools—HubSpot CRM, WP-CRM System, and WP ERP, for example—users can integrate CRM functionalities like lead monitoring and client information organization into WordPress websites.
Here is a quick guide to make the WordPress CRM installation process seamless and easy. We have discussed both automatic and manual installation processes to help you pick the one that suits you best.
Step-by-Step Guide on How to Set Up WordPress CRM
A WordPress CRM is easy to install and only requires a few clicks.
Please note that we are utilizing the HubSpot plugin for this guide since it is easy to use and free of cost. You can follow the same steps to install any other CRM plugin of your choice. A few popular alternatives are Salesforce and Agile CRM.
Login to your WordPress admin dashboard and follow these steps:
Step 1: Navigate to the Plugins Section
- Go to the “Plugins” section on the left-hand side menu of the dashboard
- Locate the CRM Plugin in your WordPress dashboard and choose “Add New”

Step 2: Install the CRM Plugin
- Look for the CRM plugin you wish to install in the top-right search bar.

- Select the “Install Now” link from the results. (For instance, HubSpot)
- Select Activate once the installation is complete.
Step 3: Set Up the CRM (HubSpot)
The plugin will ask you to register for a HubSpot account after it has been installed. It just takes a couple of minutes and is free.
After creating your HubSpot account, use the plugin to log in. Following that, you will be given an illustrated overview of every function and feature of the plugin.
Step 4: Integrate CRM with Contact Forms
Following the demo tour, you can put up your forms and start collecting client information.

Use a shortcode to embed a form once it has been created. Once the information entered into the form is synchronized with your HubSpot CRM, you can start using the tool.
Manual Method to Install WordPress CRM Plugin
Users whose server prohibits automatic installation or for a variety of reasons can opt for manual installation.
- Choose to obtain the required plugin as a.zip file from the WordPress directory.
- Select Plugins > Add New from the WordPress panel.
- On the page, select the Upload the CRM Plugin link at the very top.
- After selecting the file, find the plugin.zip file and select Install Now.
- Once the installation process is finished, select “Activate Plugin”.
Tips and Tricks
- A customized CRM solution that complies with particular workflows and needs can be achieved by selecting the appropriate plugins, themes, and design components.
- While installing WordPress CRM, you can easily look for free plugins available in the dashboard.
- If you are troubleshooting any issue, you can temporarily deactivate a CRM plugin from the admin page.
Takeaway
Any plugin you choose, using a WordPress CRM will make you more content than using CRM software that requires a monthly subscription.
WordPress CRM is simple and quick to install, giving you more time to concentrate on the important things, like personalizing your website and boosting user experience.


